
This guide contains driver packages and installation instructions for selected PowerVPS server configurations based on AMD Ryzen processors.
Important: Use the driver package that matches your processor and Windows version.
Ryzen 7 7700 and Ryzen 9 7950X
Driver package for:
- AMD Ryzen 7 7700
- AMD Ryzen 9 7950X
Supported operating systems:
- Windows 10
- Windows Server
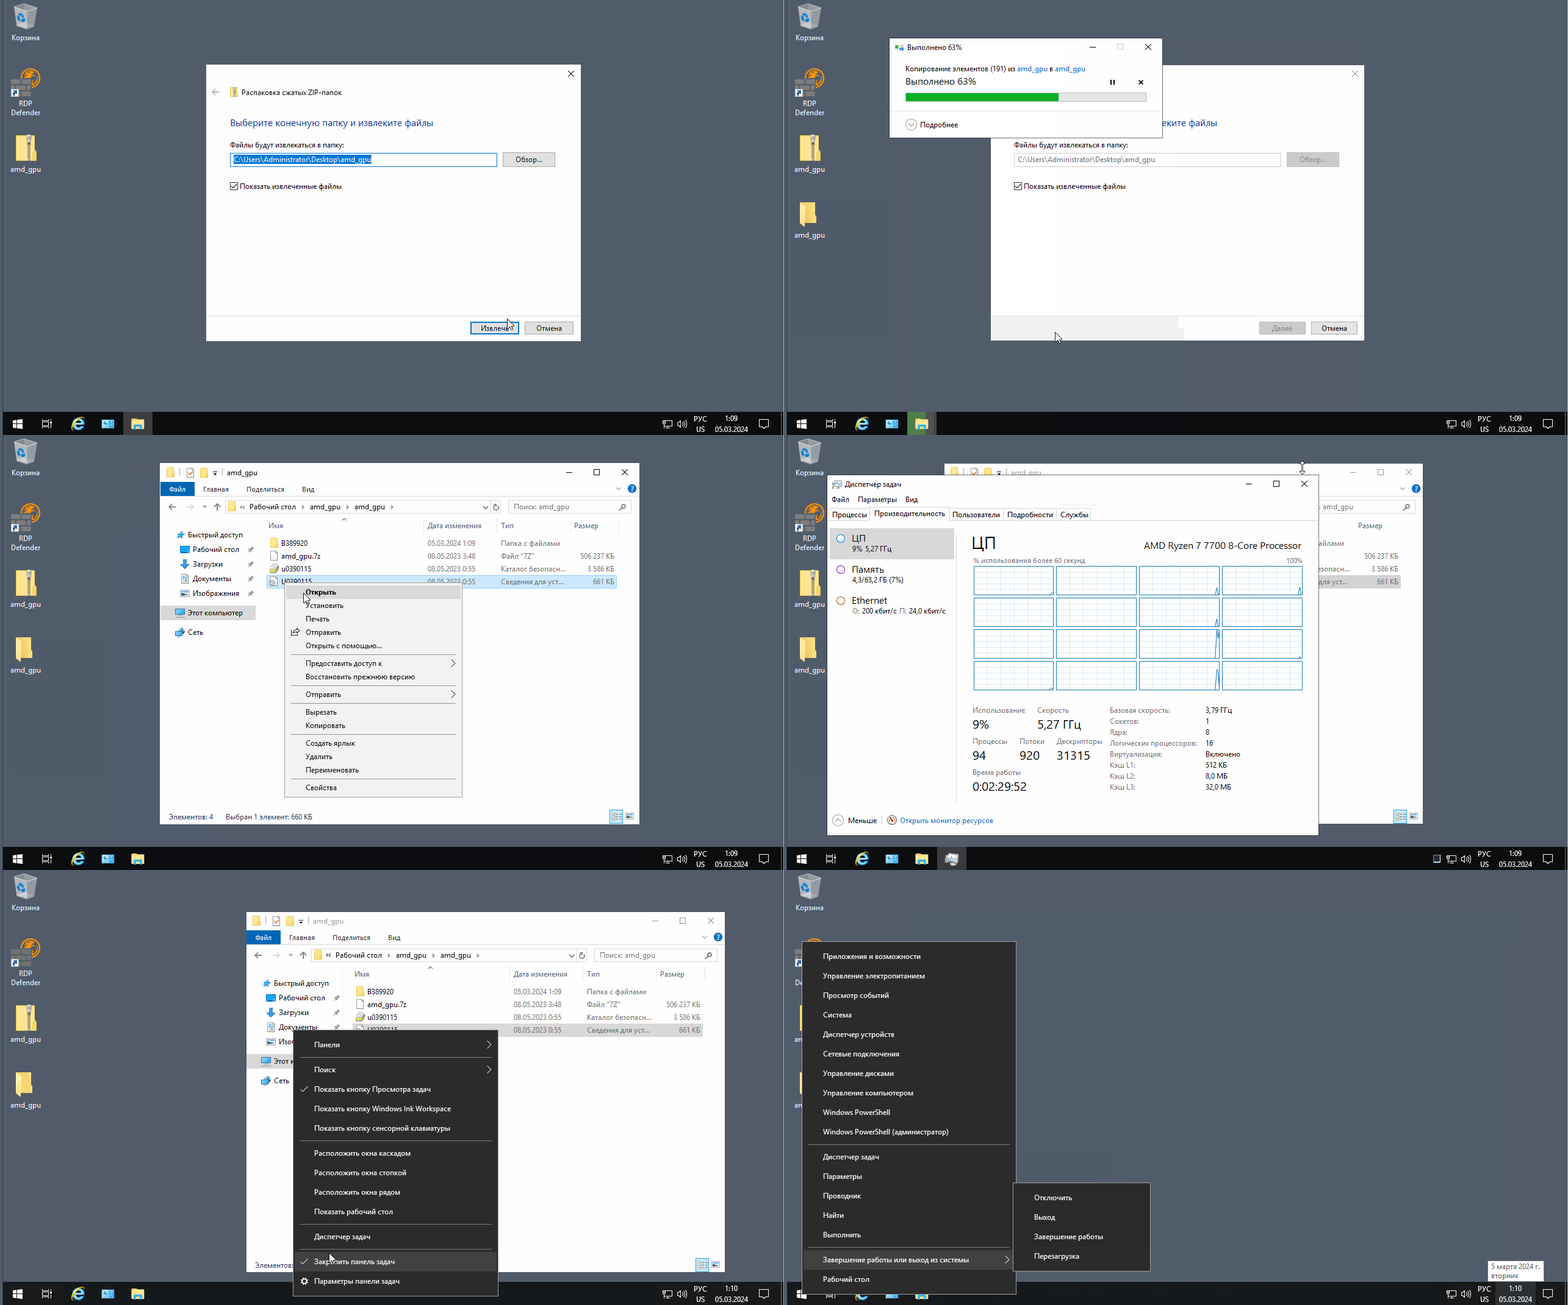
Download the driver package and follow the installation process shown below.
Ryzen 7 PRO 8700GE — Windows 11
Driver package for:
AMD Ryzen 7 PRO 8700GE
Operating system:
Windows 11
Installation
Download the driver package and run the installer.
Wait for the installation to complete.
Restart Windows if requested by the installer.
Ryzen 7 PRO 8700GE — Windows Server 2022
Driver package for:
AMD Ryzen 7 PRO 8700GE
Operating system:
Windows Server 2022
Step 1. Open Command Prompt as Administrator
Open the Start menu.
Search for:
Command Prompt
Right-click it and select:
Run as administrator
Step 2. Enable Driver Test Mode
Run the following commands:
bcdedit.exe -set loadoptions DISABLE_INTEGRITY_CHECKS
bcdedit.exe -set TESTSIGNING ON
bcdedit.exe -set NOINTEGRITYCHECKS ON
Important: These settings reduce Windows driver signature enforcement and should be used only when required for the driver installation.
Restart the server after running the commands.
Step 3. Install the Driver
After the server restarts, open:
Device Manager
Locate the device that requires the driver.
Right-click the device and select:
Update driver
Select:
Browse my computer for drivers
Choose the folder containing the downloaded driver package.
Complete the driver installation.
Step 4. Disable Test Mode
After the driver has been successfully installed, open Command Prompt as Administrator again.
Run:
bcdedit.exe -set TESTSIGNING OFF
bcdedit.exe -set NOINTEGRITYCHECKS OFF
bcdedit.exe /deletevalue loadoptions
Restart the server:
shutdown /r /t 0After the reboot, Windows should return to its normal driver verification configuration.
If TESTSIGNING Cannot Be Enabled
If Windows displays a message indicating that the setting is protected by Secure Boot, do not repeatedly force the command.
Secure Boot can prevent changes to driver test-signing and integrity-check settings.
In this situation, use a properly signed driver or verify the server’s Secure Boot configuration before continuing.
Check Whether Test Mode Is Enabled
You can view the current Windows boot configuration with:
bcdeditIf test-signing is enabled, Windows may also display a Test Mode watermark on the desktop.
Important Security Note
Do not leave TESTSIGNING or disabled integrity checks enabled after the driver installation unless they are specifically required.
Return the system to its normal configuration after the driver has been installed successfully.
Conclusion
Select the driver package that matches your AMD Ryzen processor and Windows version.
For Windows 10 and Windows 11, run the provided installer normally.
For the Ryzen 7 PRO 8700GE on Windows Server 2022, additional driver-signature configuration may be required before installing the driver through Device Manager.