This guide explains how to install GPU drivers on PowerVPS servers with a dedicated graphics card.
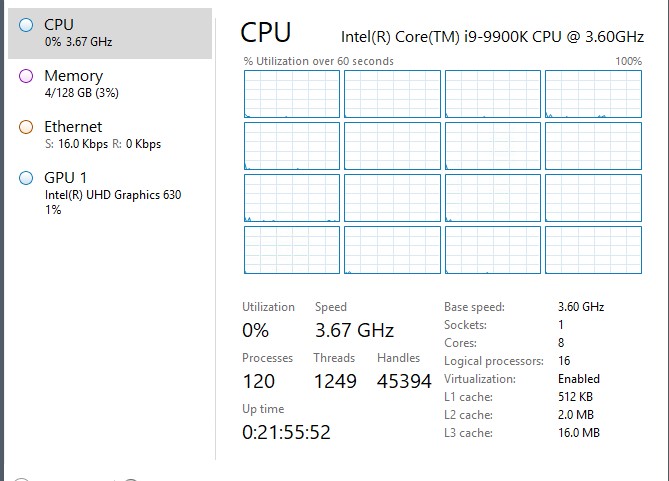
After the driver installation is complete, Windows should detect the GPU and display it in Task Manager.
Step 1. Download the GPU Driver
Download the driver package:
Save the file on the server.
Step 2. Install the Driver
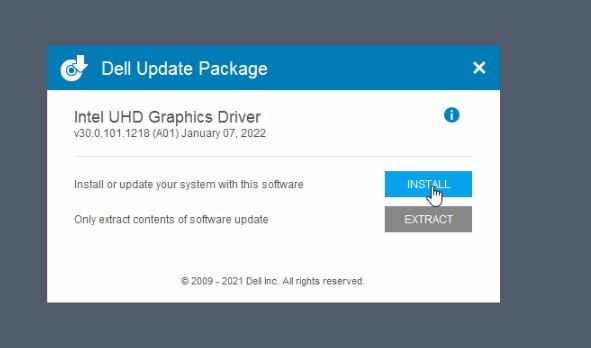
Run the downloaded installer.
Follow the installation wizard and install the required GPU driver components.
Step 3. Wait for the Installation to Complete
The installation may take approximately:
5–10 minutes
Do not close the installer while the driver is being installed.
If the installer requests a restart, restart the server after the installation is complete.
Step 4. Verify That Windows Detects the GPU
Open:
Task Manager
You can use:
Ctrl + Shift + Esc
Open the:
Performance
tab.
After the driver has been installed correctly, a GPU section should appear in Task Manager.
Check the GPU in Device Manager
You can also verify the driver through:
Device Manager → Display adapters
The installed GPU should appear without a warning icon.
If Windows displays:
Microsoft Basic Display Adapter
or a yellow warning icon, the GPU driver may not be installed correctly.
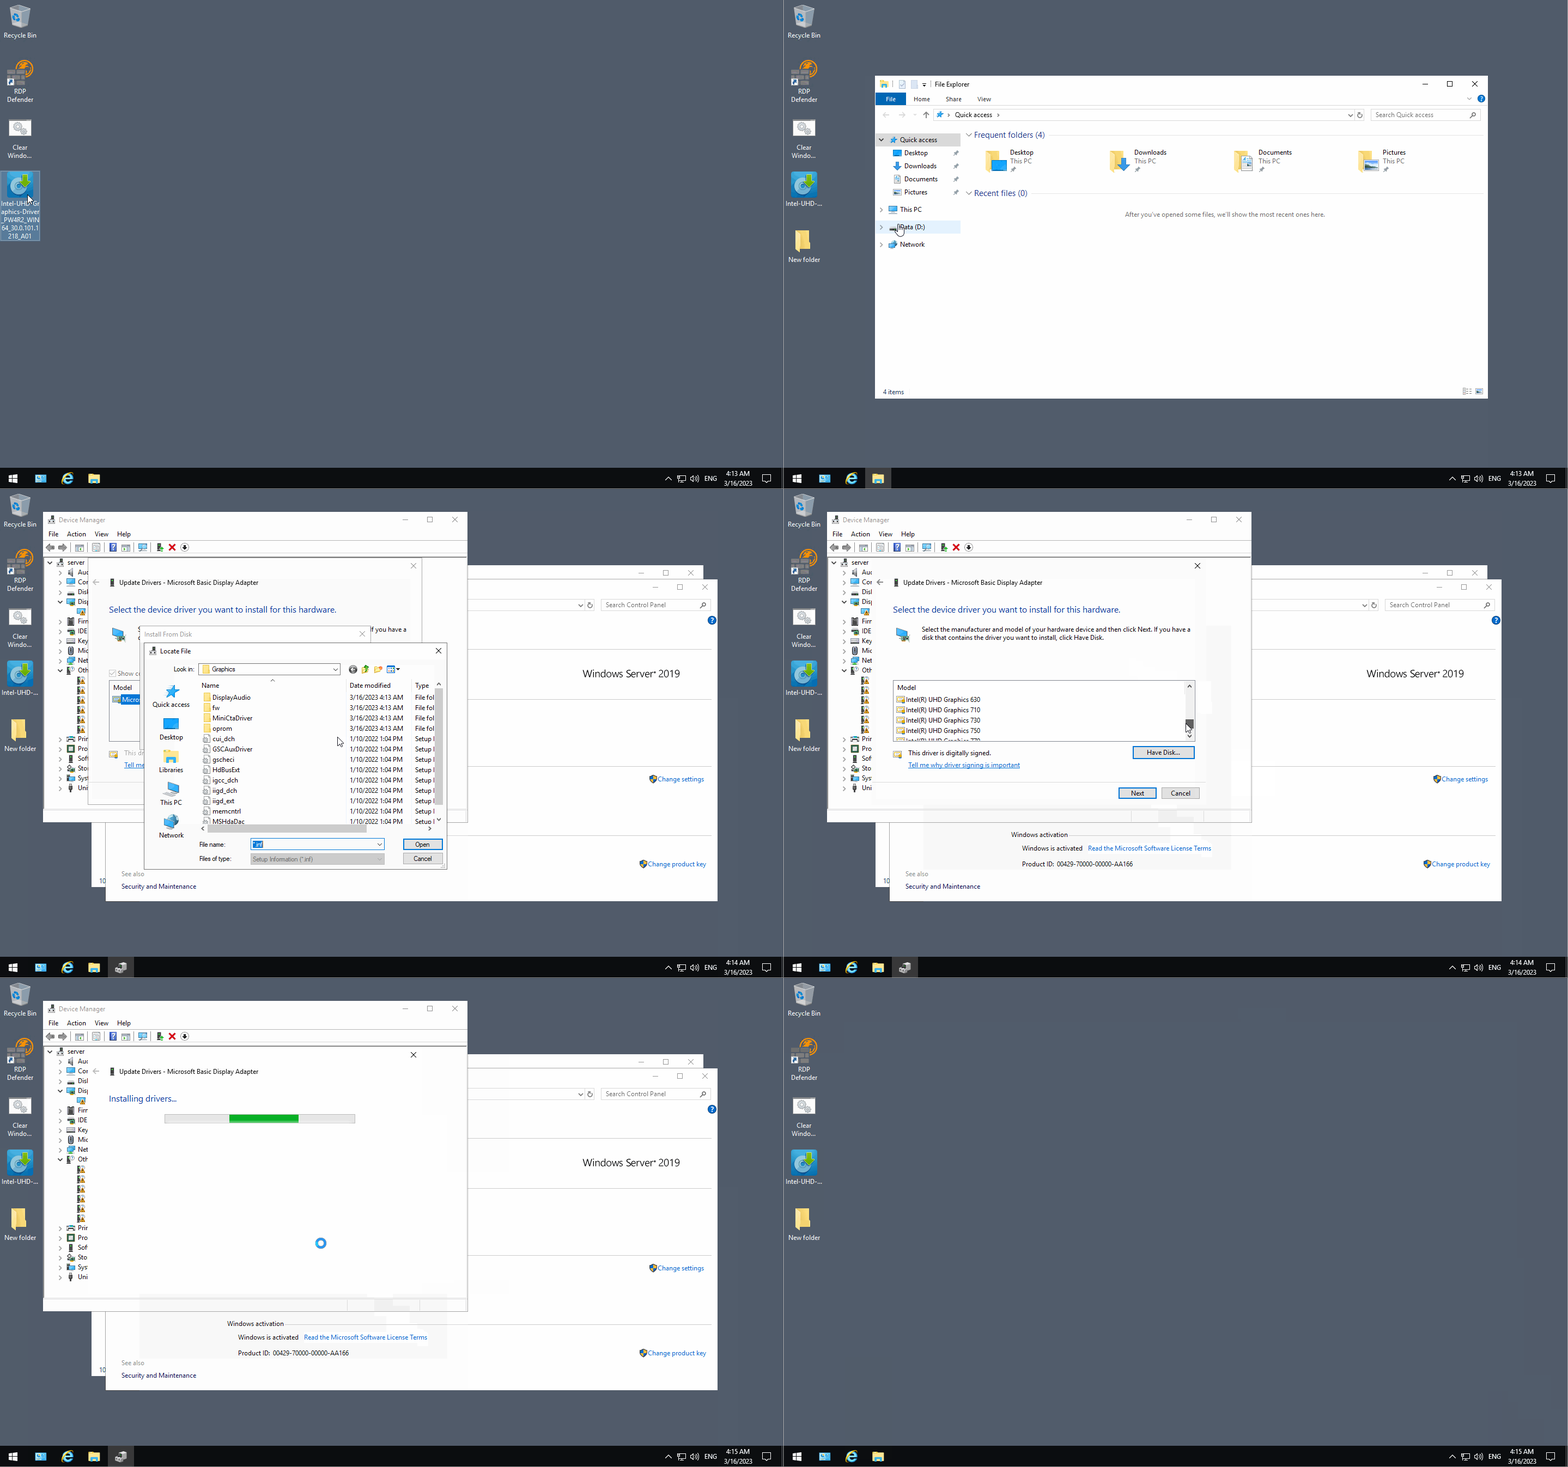
Core i9-13900 GPU Server
For servers based on Intel Core i9-13900, follow the installation process shown below:
Optional: Check NVIDIA GPU from Command Prompt
If the server uses an NVIDIA GPU and the NVIDIA driver is installed correctly, you can check it with:
nvidia-smiThe command should display information about:
- GPU model
- Driver version
- GPU memory
- GPU utilization
- Running GPU processes
If Windows reports that nvidia-smi is not recognized, the NVIDIA driver may not be installed correctly or its tools may not be available in the system path.
Troubleshooting
The GPU Does Not Appear in Task Manager
Check:
- The driver installation completed successfully.
- The server was restarted after installation.
- The GPU appears in Device Manager → Display adapters.
- There is no yellow warning icon in Device Manager.
Windows Uses Microsoft Basic Display Adapter
This usually means the correct GPU driver has not been installed.
Install the appropriate GPU driver and restart the server.
The Driver Installer Reports an Error
Make sure the driver package matches:
- The installed GPU model.
- Your Windows version.
- The Windows architecture.
Conclusion
To install the GPU driver:
- Download the driver package.
- Run the installer.
- Wait for the installation to complete.
- Restart the server if required.
- Check the GPU in Task Manager and Device Manager.
After successful installation, Windows should recognize the GPU and make it available to supported applications.